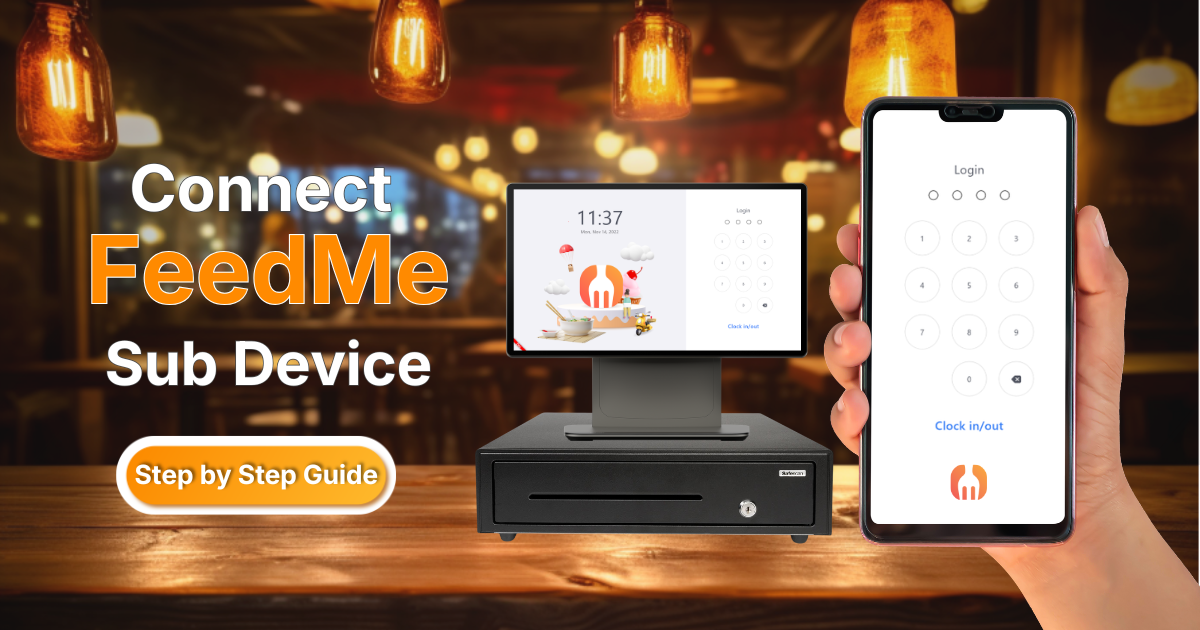
If you want to connect FeedMe sub device quickly and correctly, this guide will help you complete the setup in just a few minutes. Follow the steps below carefully to pair your device smoothly and start using it without any confusion.
Many users search for the easiest way to connect FeedMe sub device, especially during first-time setup. This guide is written in a simple and straightforward format so anyone can follow along easily.
How to Connect FeedMe Sub Device
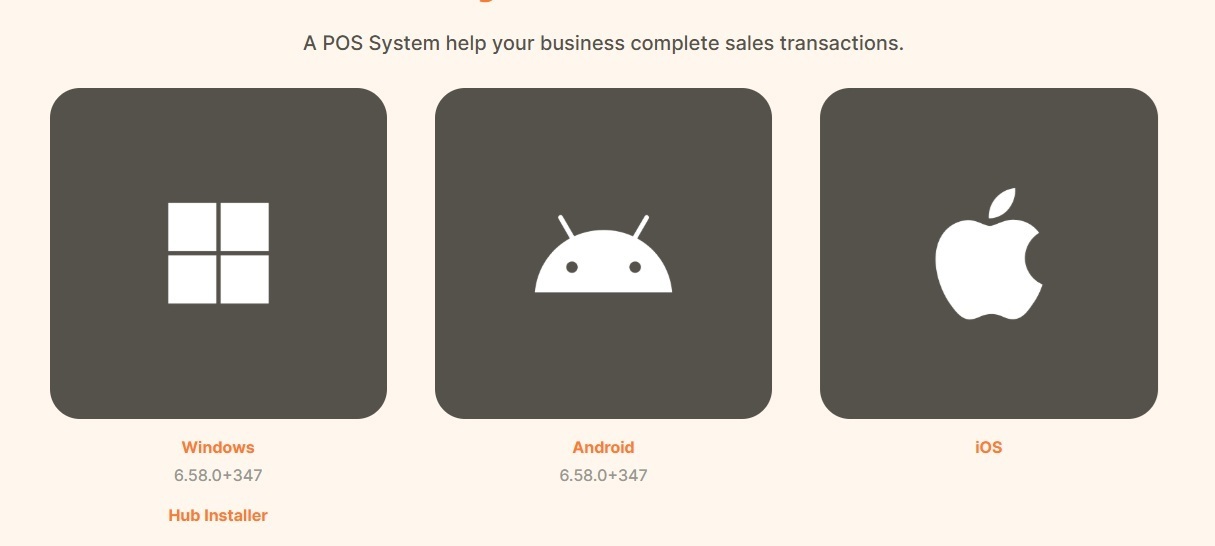
Step 1 — Download FeedMe App in Sub Device
Get your sub devices, and browse for “FeedMe POS” to download/ install.
Step 2 — Open the FeedMe Application
Open the FeedMe application on your smartphone, tablet or computer. There are some POS system mode to choose:
MAIN – Used for first-time setup or when using only one device for the business.
Choose this mode if:
- You are setting up the system for the first time
- Your business only uses a single POS device
- No additional devices are connected yet
SUBPOS – Used when you already have one MAIN device and want to add additional devices.
Choose this mode if:
- Your business already has an active MAIN device
- You want to connect extra POS devices
- You need multiple devices linked together in the same system
KDS / ODS – This mode is specifically for kitchen or order display usage only.
Choose this mode if:
- You want to use the device as a Kitchen Display System (KDS)
- You want to display customer or order information using an Order Display System (ODS)
- The device will not be used as a normal POS terminal.
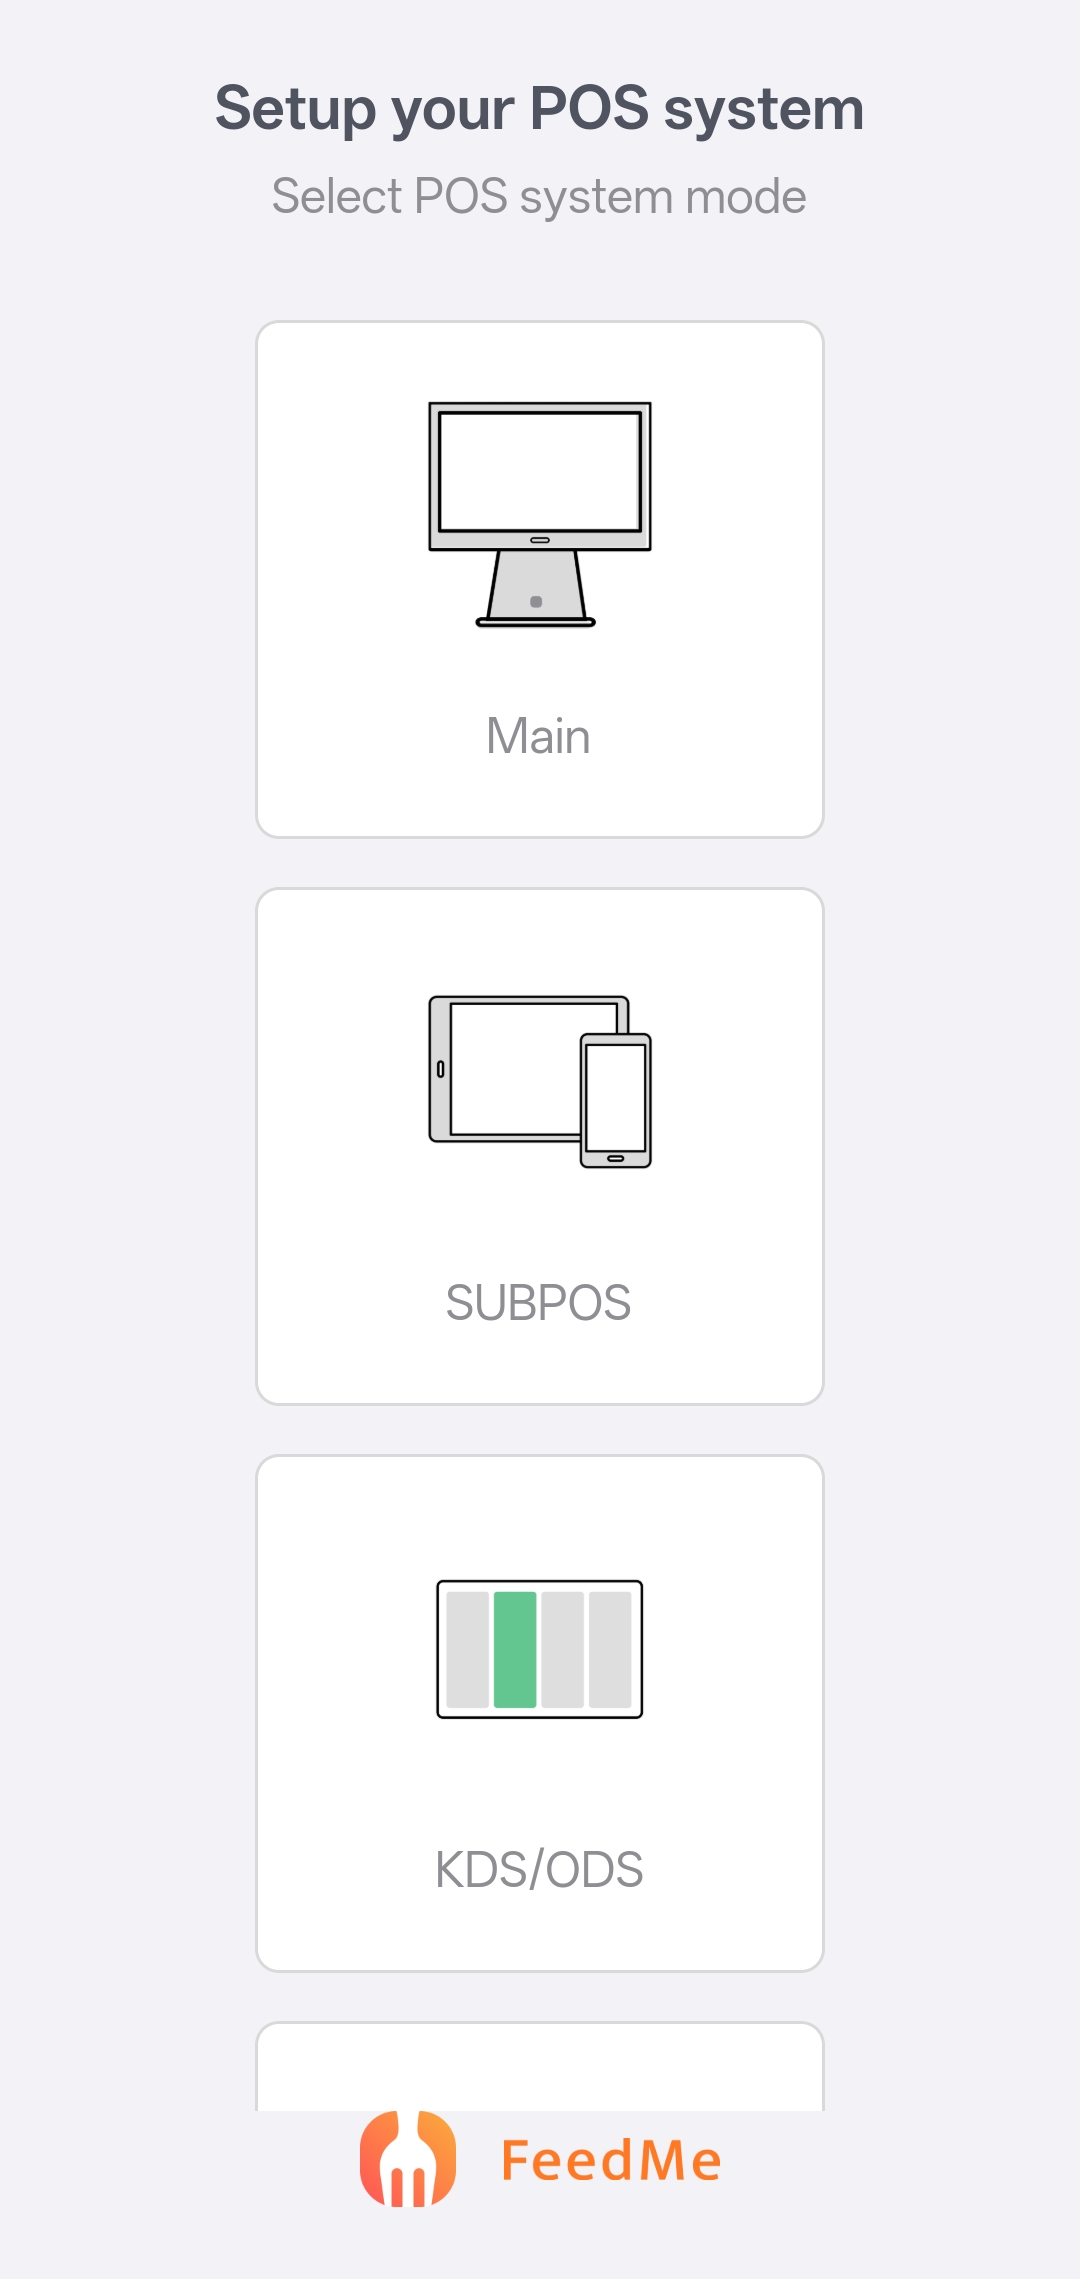
*Choose SUBPOS in your sub/second/third device.
Step 3 — Go to Main Device Settings
In your Main/ first device, go to Setting > Device > Other Device, then click “Add Device”, choose your Device Type, either set subpos as counter, or order station. Also, can tick to choose which printer to connect for the subpos device, then “Save”.

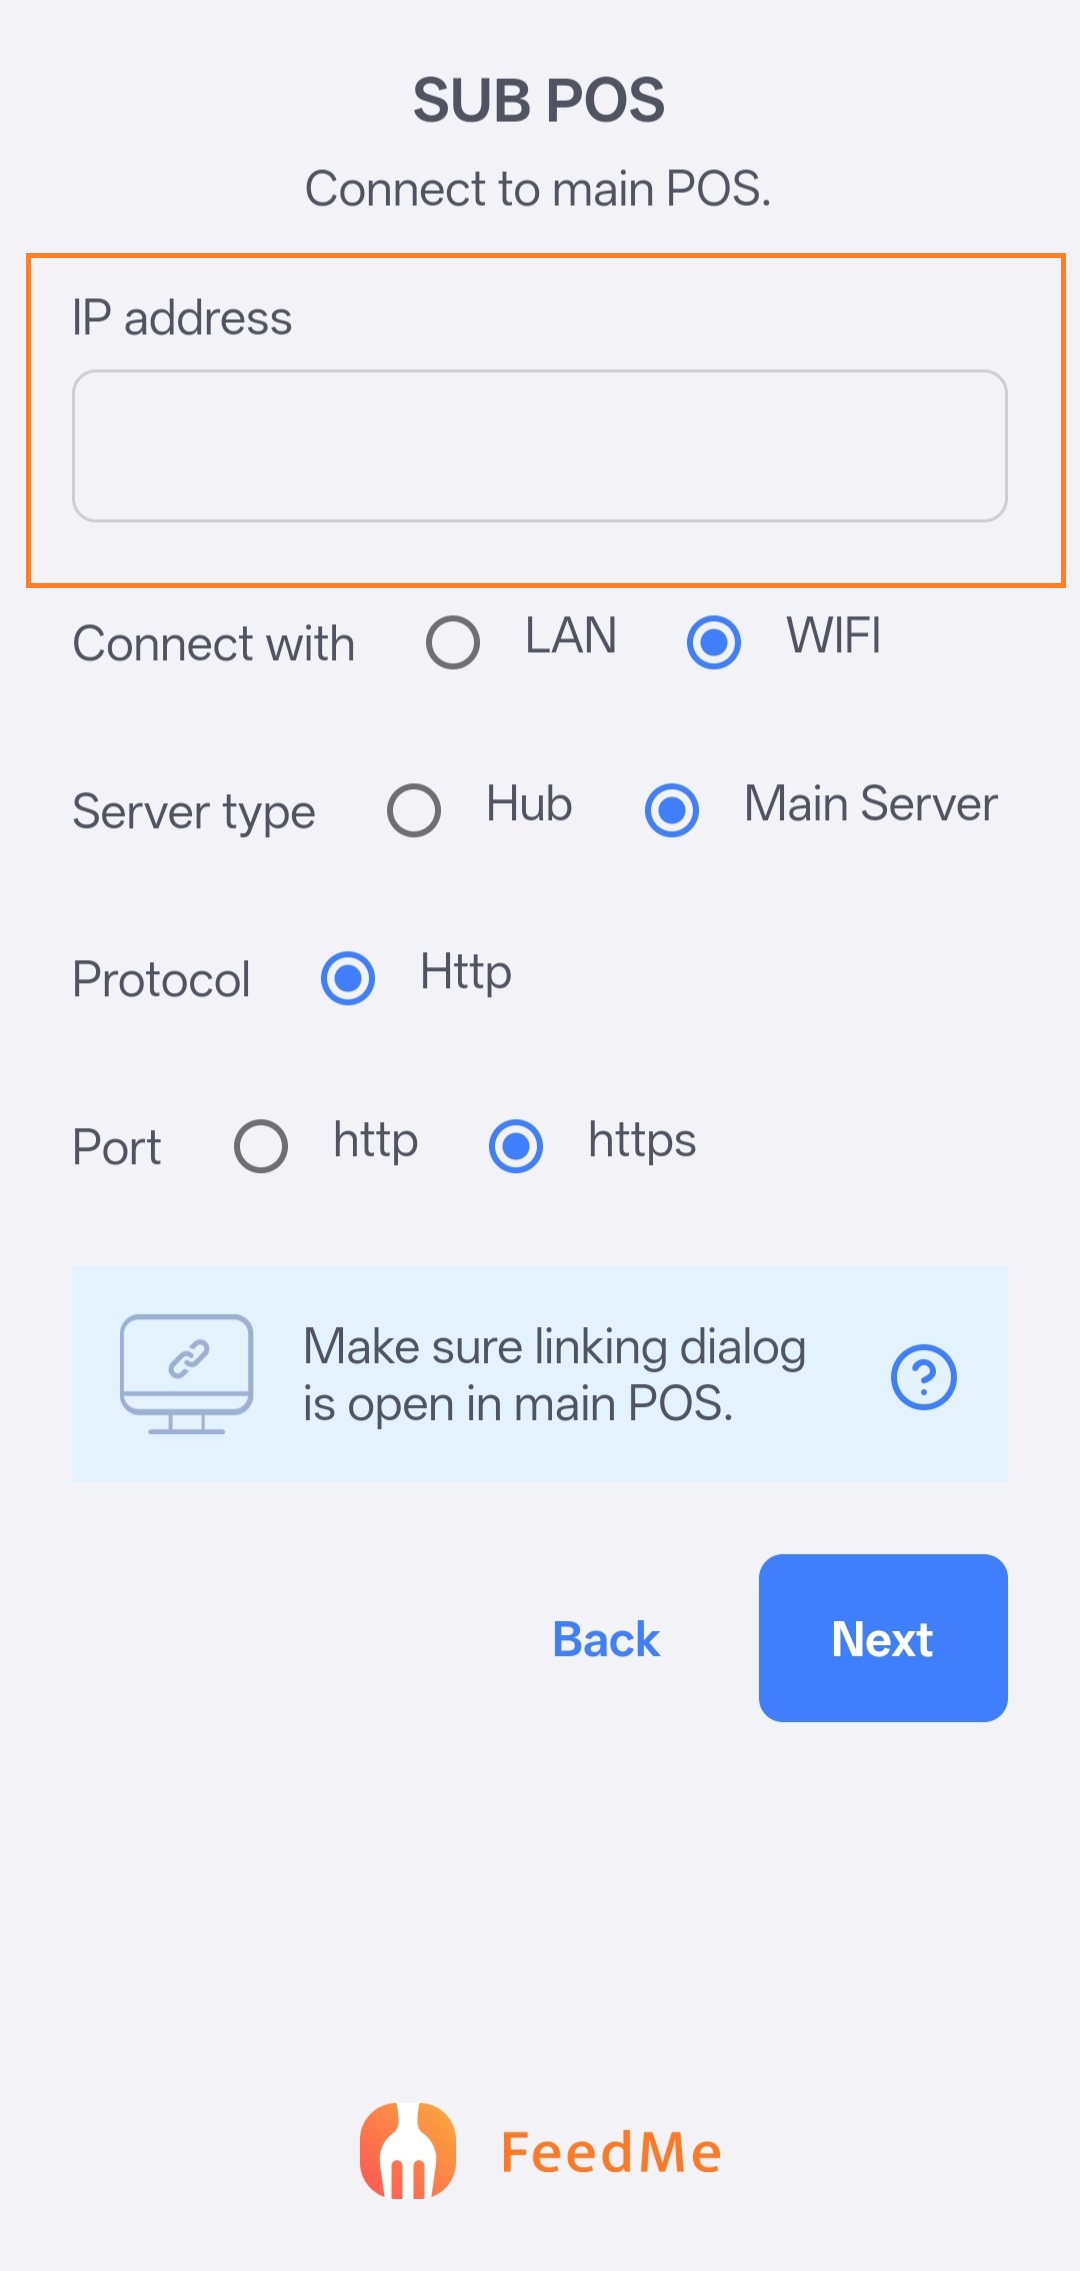
Step 4 – Setup Sub POS
In your Main/ first device, go to Setting > Device > Operation, find out the Socket Server IP, copy the address.
Paste in the sub device IP, then choose the setting depends on your main.
For example, if your main device is connected with WIFI, then in sub setting you can tick WIFI, If your server type is set as Main, then can choose Main Server, If main server type is Hub, then can choose Hub here.
After done setting, then choose “Next”.
Step 5 — Confirm Successful Connection
After setup is completed, the application should display a green successful connection notification. Your FeedMe sub device is now ready to use.Why Proper Device Setup Matters
When you correctly connect FeedMe sub device, it helps improve connection stability, synchronization speed, and overall device performance. Proper setup also helps ensure a smoother user experience during daily usage.Now you know exactly how to connect FeedMe sub device using a simple and easy step-by-step method. Just follow the instructions carefully and your device should connect within minutes.
If you are still need assist on your restaurant and also interested with our support, feel free to contact us.
We are always ready to help businesses that need reliable assistance for their FeedMe system setup and management.
Our services include:
- Free consultation for businesses
- Complete system setup services
- System training
- After-sales support and guidance
If interested, feel free to contact us for more details, setup assistance, or additional support regarding your FeedMe device connection and business system needs.